One of the things we do for projects is 3D modeling – these are virtual models (on the computer) that can be shown from any angle, animated, textured and so on, and used to create imagery. Models are a required part of 3D illustration and animation and can come from a variety of sources – CAD files, purchased, supplied by the client or modeled in house.
For this project we were sent real products for us to model and use in an upcoming animation.
The Real Products
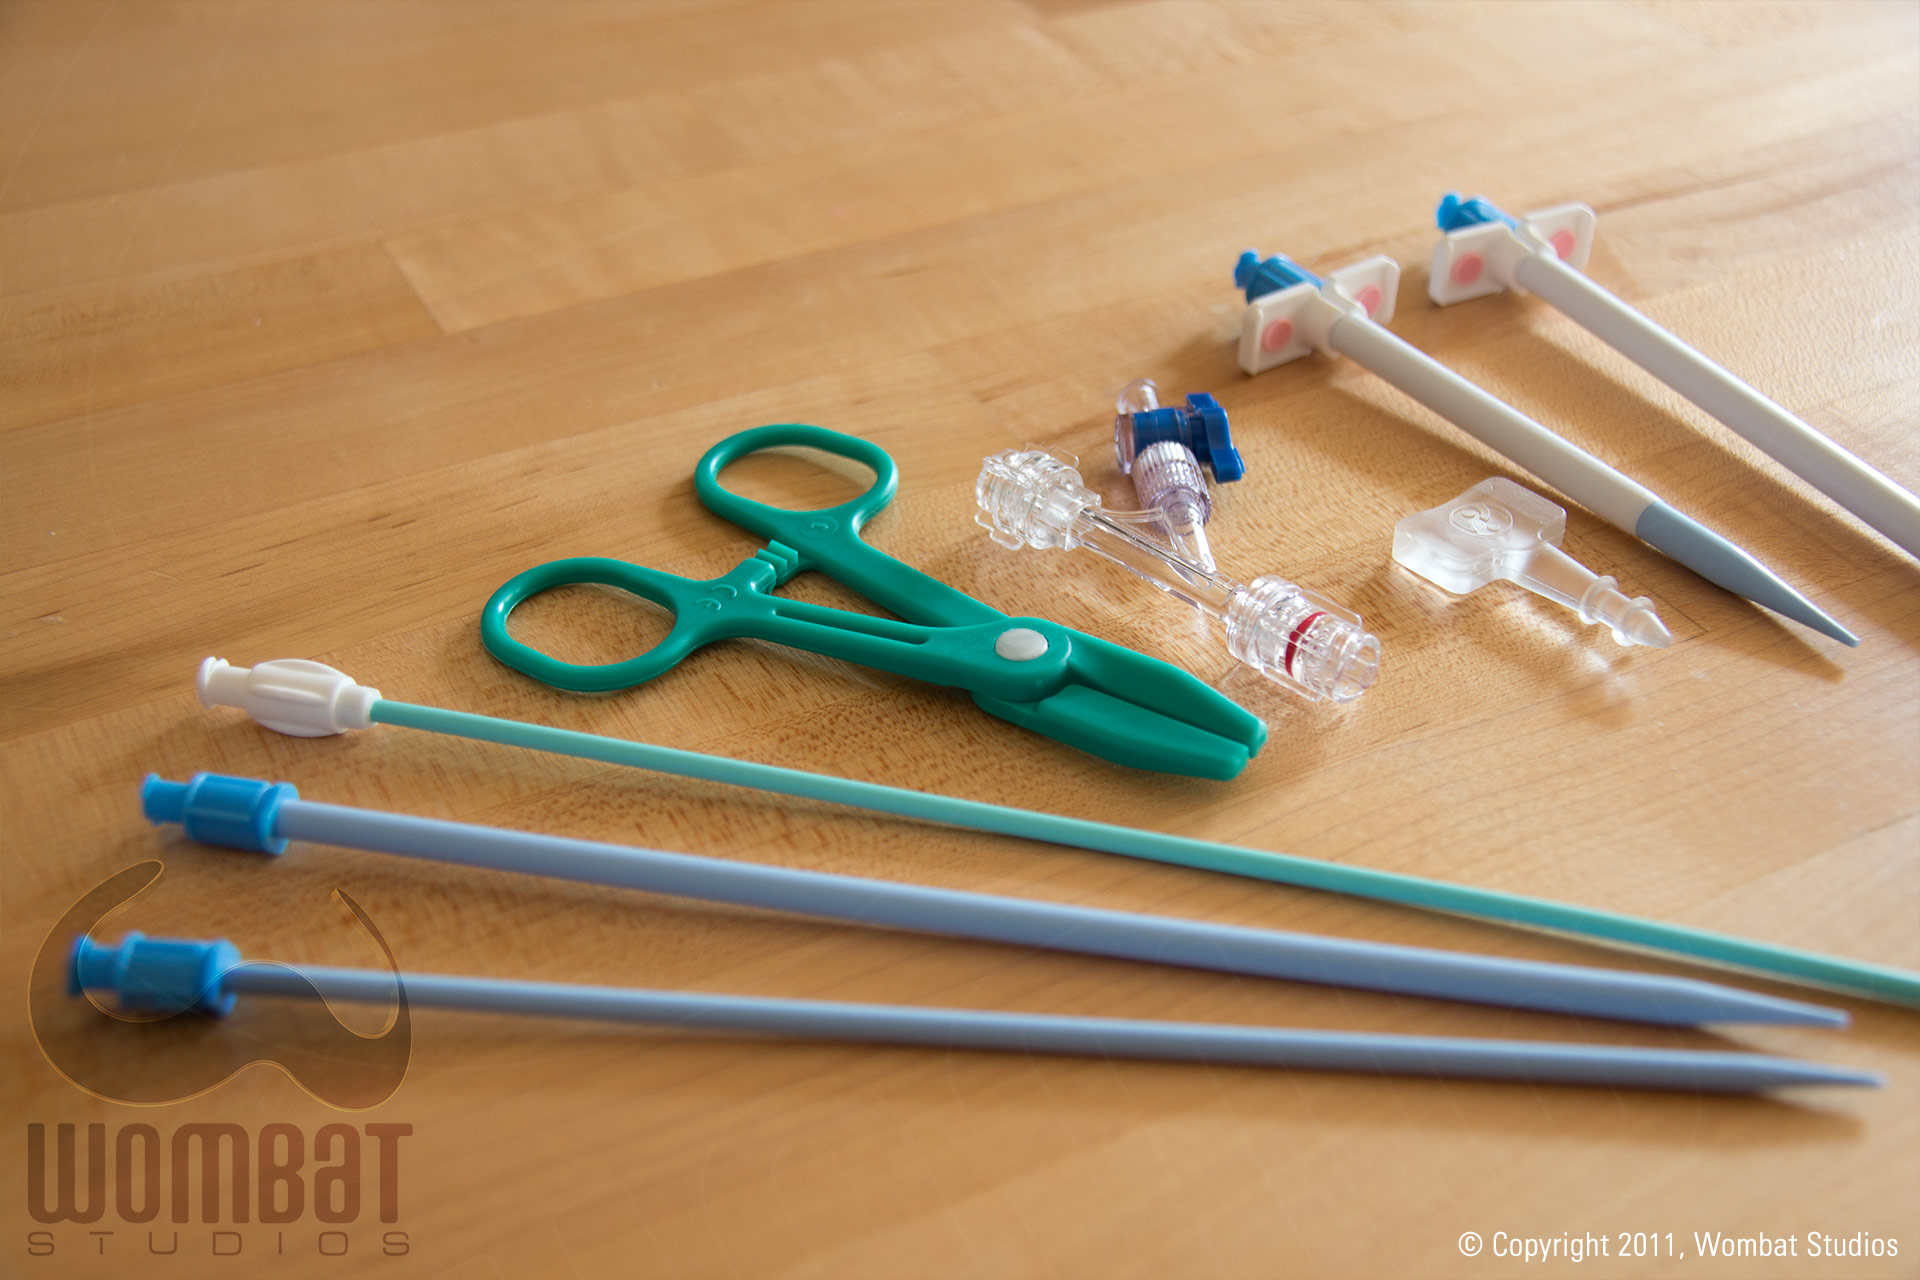
This is what we were sent – assorted tools used for the implant procedure for the HeRO Graft. Besides the hub (the clear item with assorted ports) none of the products are complicated, nor have a starring role in the animation, but as they will be on screen for a little time and there may be reason to illustration them in the future, we always build the objects as accurately as possible.
The HeRO Graft
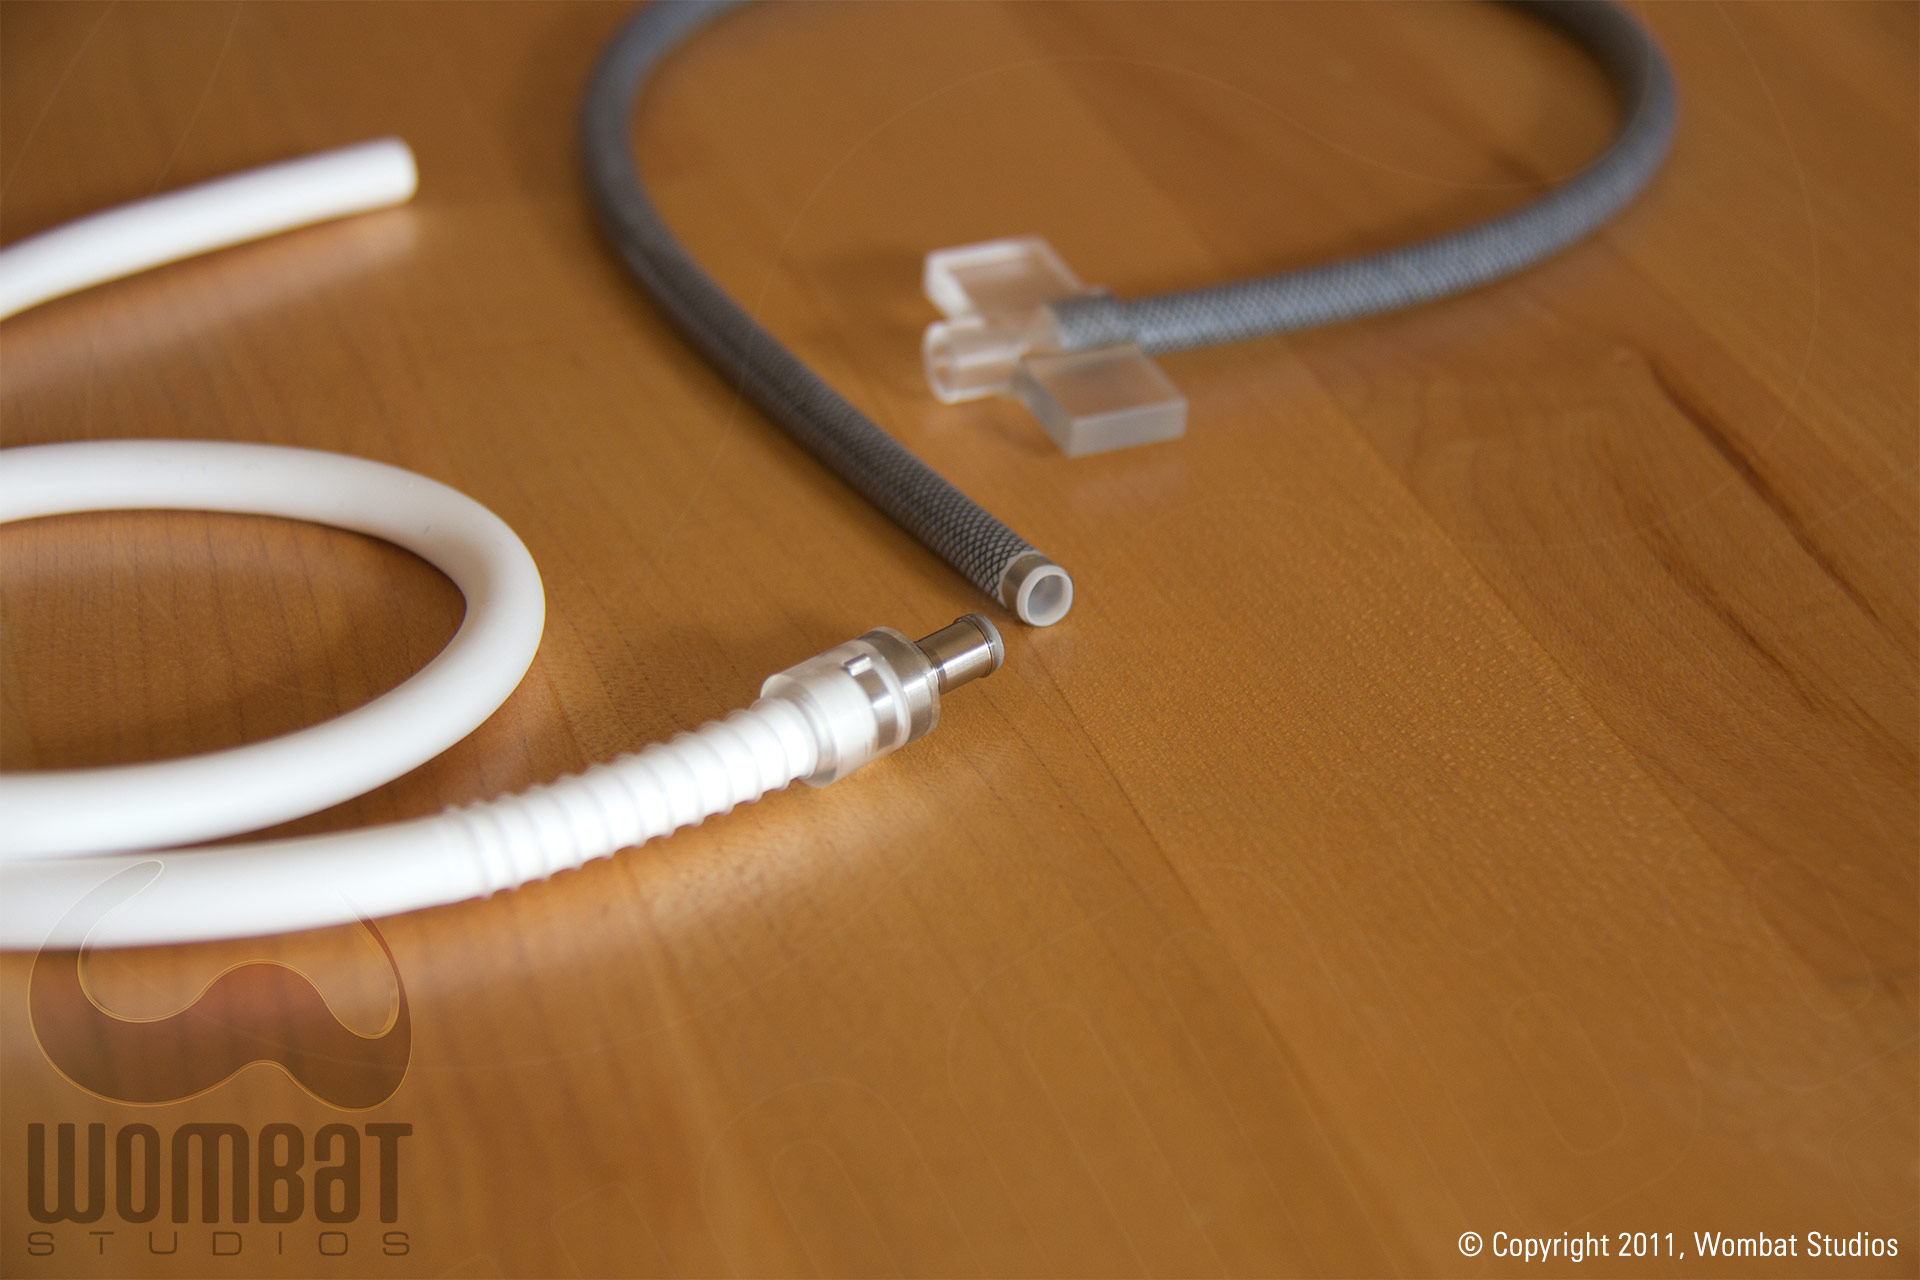
This is the HeRO Graft, a dialysis graft that gets implanted into the body. We’ve modeled these components previously from photographs and other images but having them in hand helps to perfect those models.
Accurately Measuring
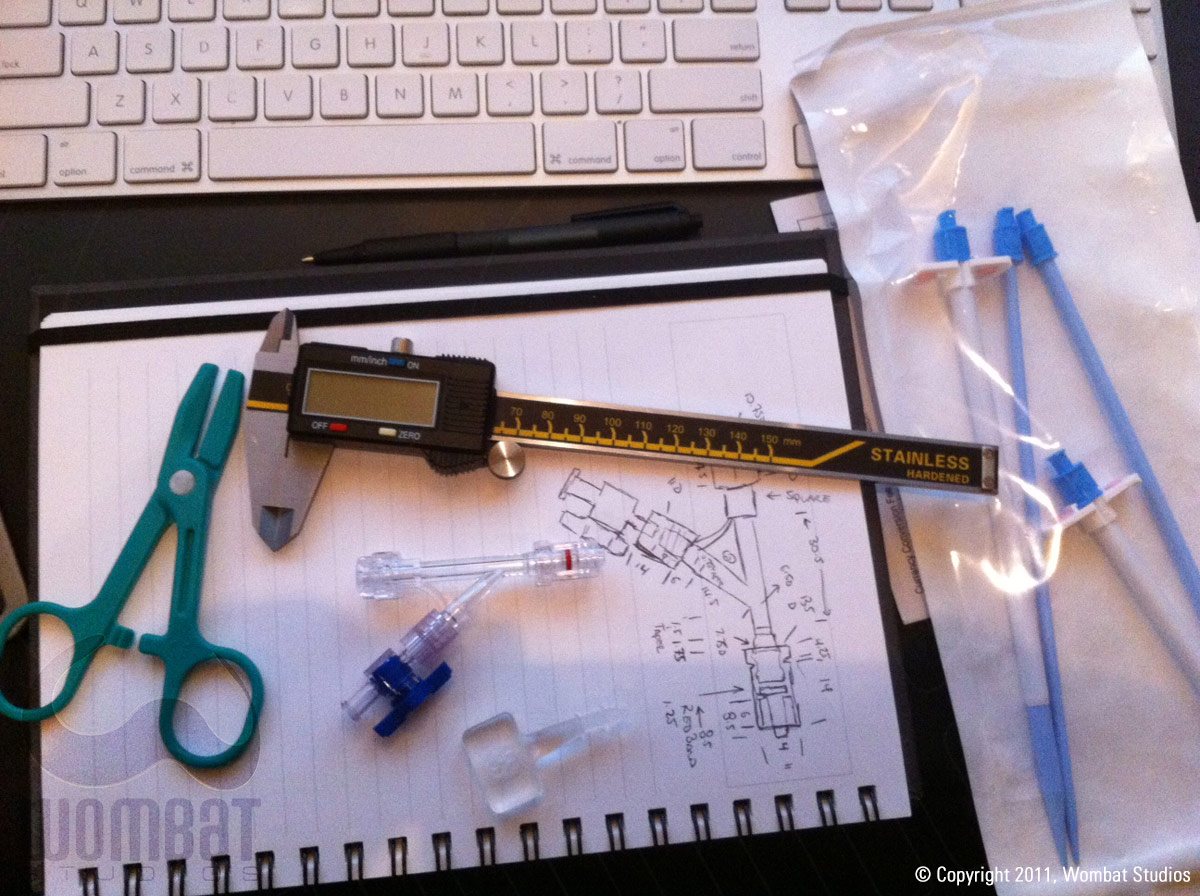
We measure each product with digital calipers, recording that data through rough sketches. These numbers we’ll use on the computer as we model the objects in 3D (lathing, extruding, skinning, booleans, rounding…).
The Products Drawn
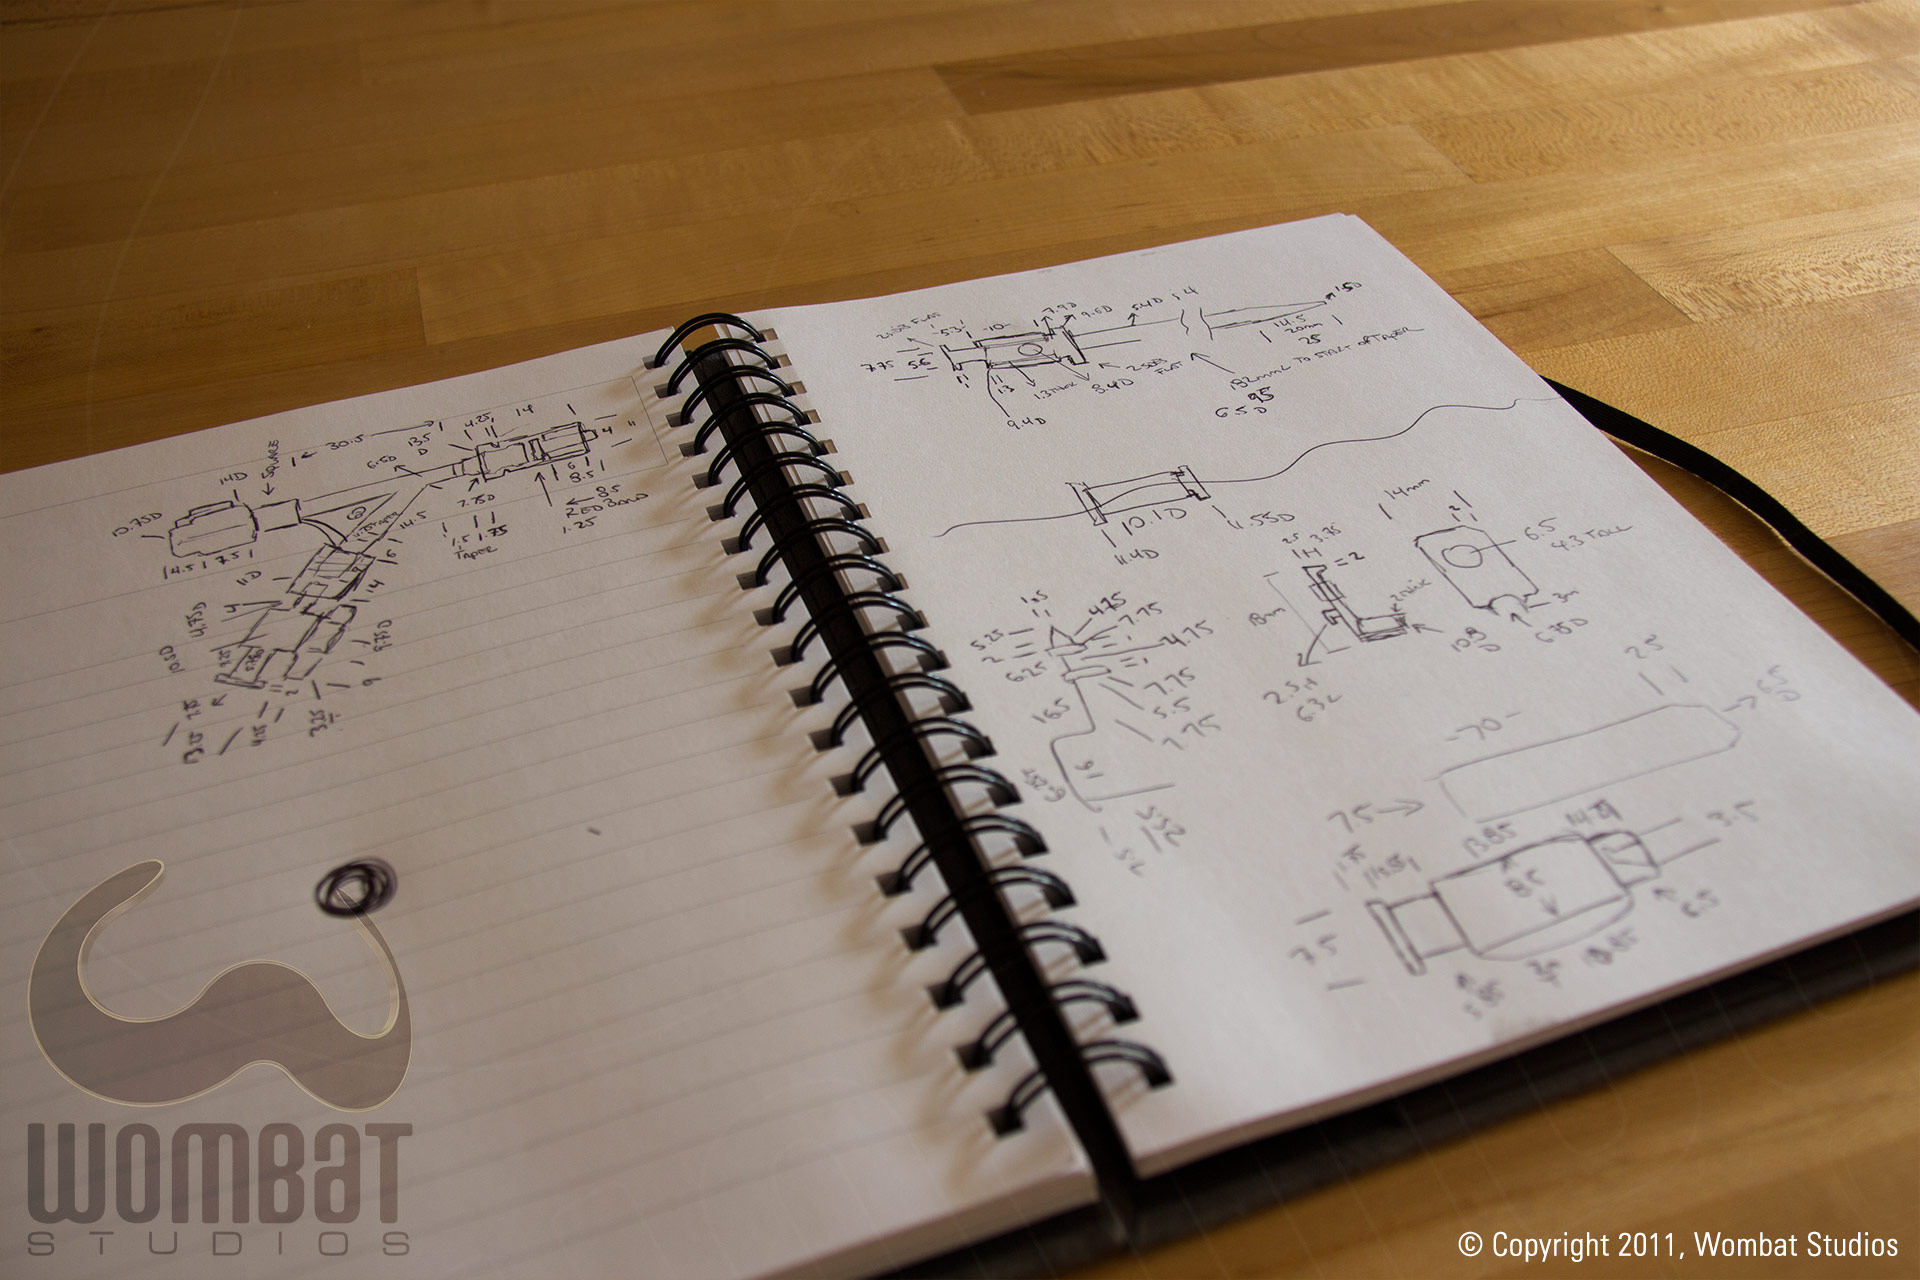
Here is a couple of pages worth of drawings of the products – diameters, distances, thicknesses and other sizing information is recorded. The drawings themselves are rather messy but it’s enough to convey what we need.
Breakaway Sheath
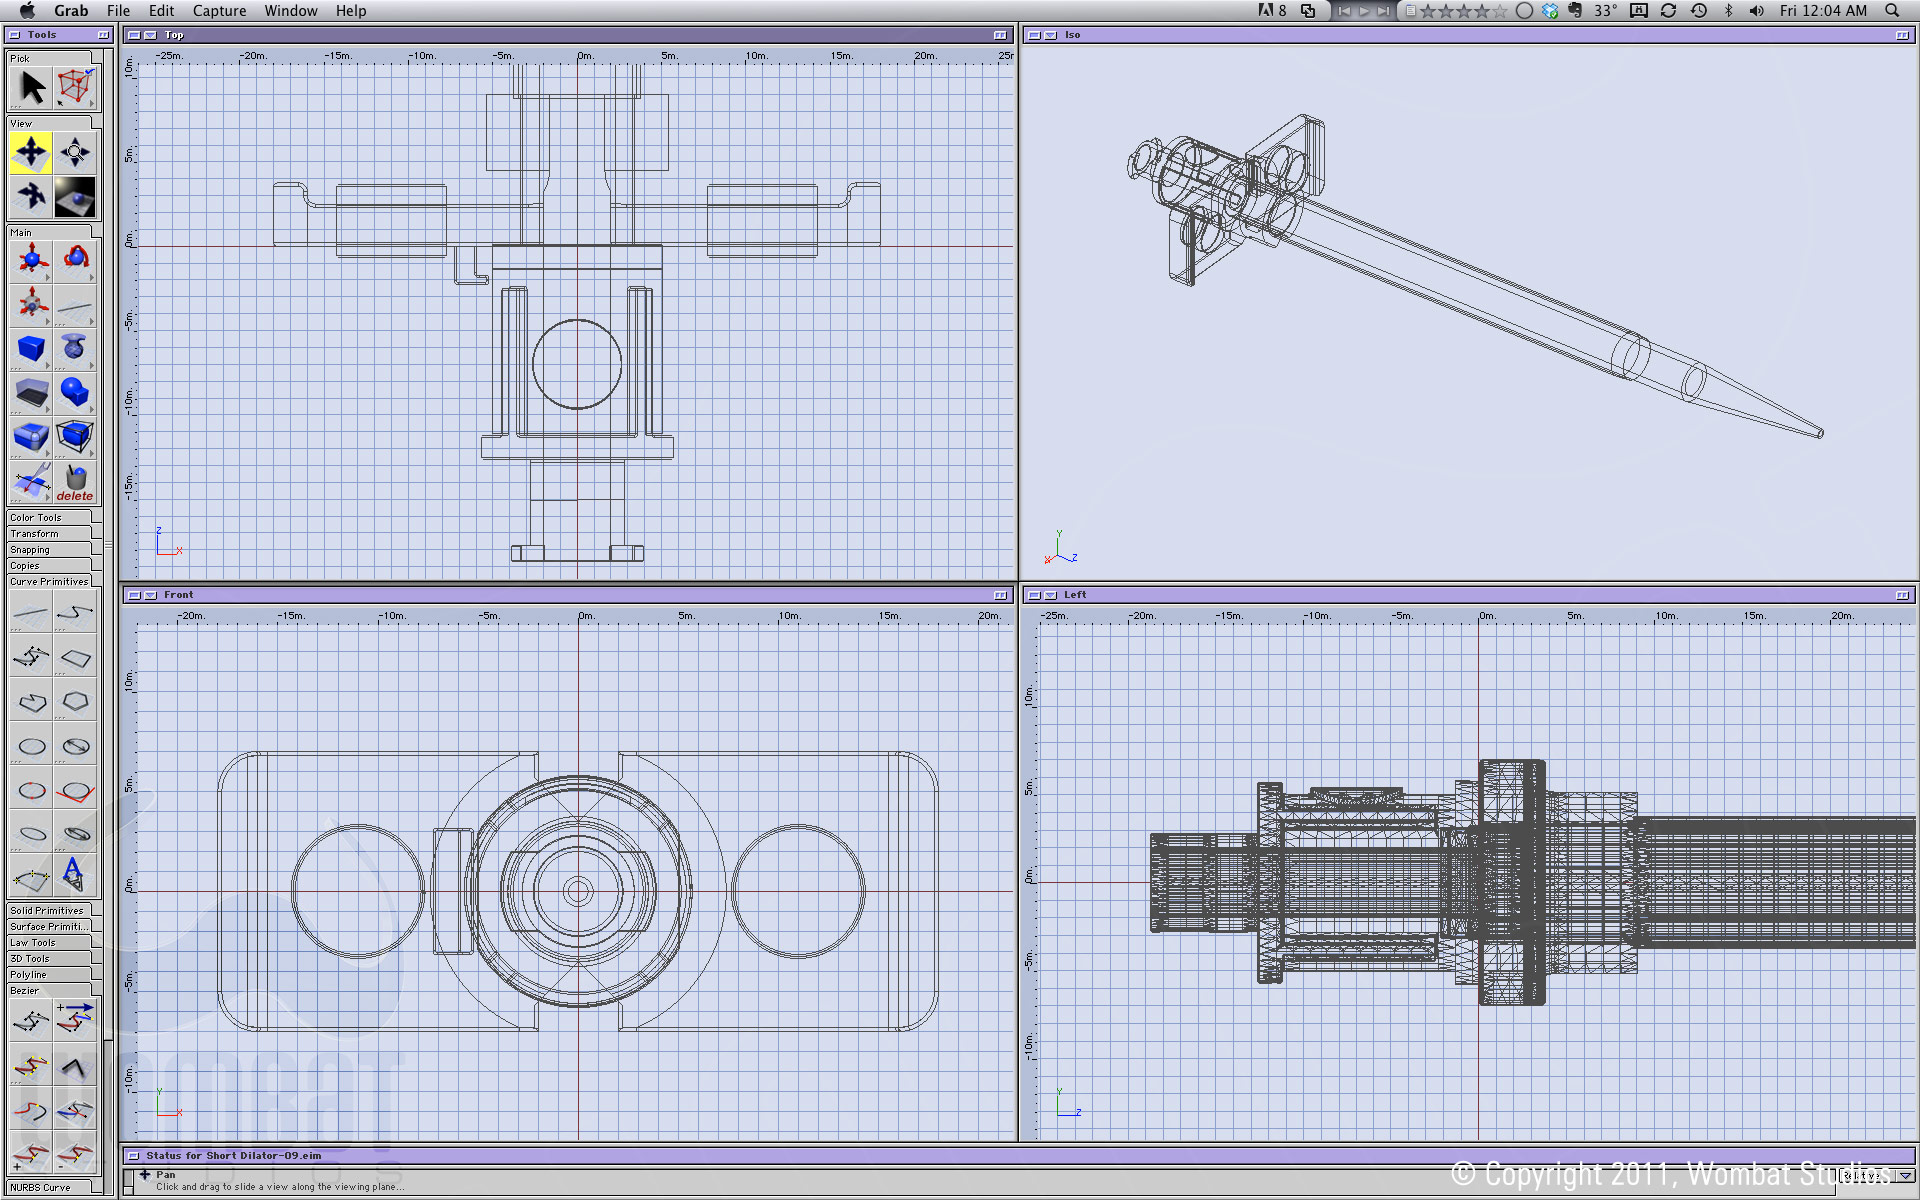
This is a dilator and sheath – the sheath (the white part) actually splits in two.
Clamp
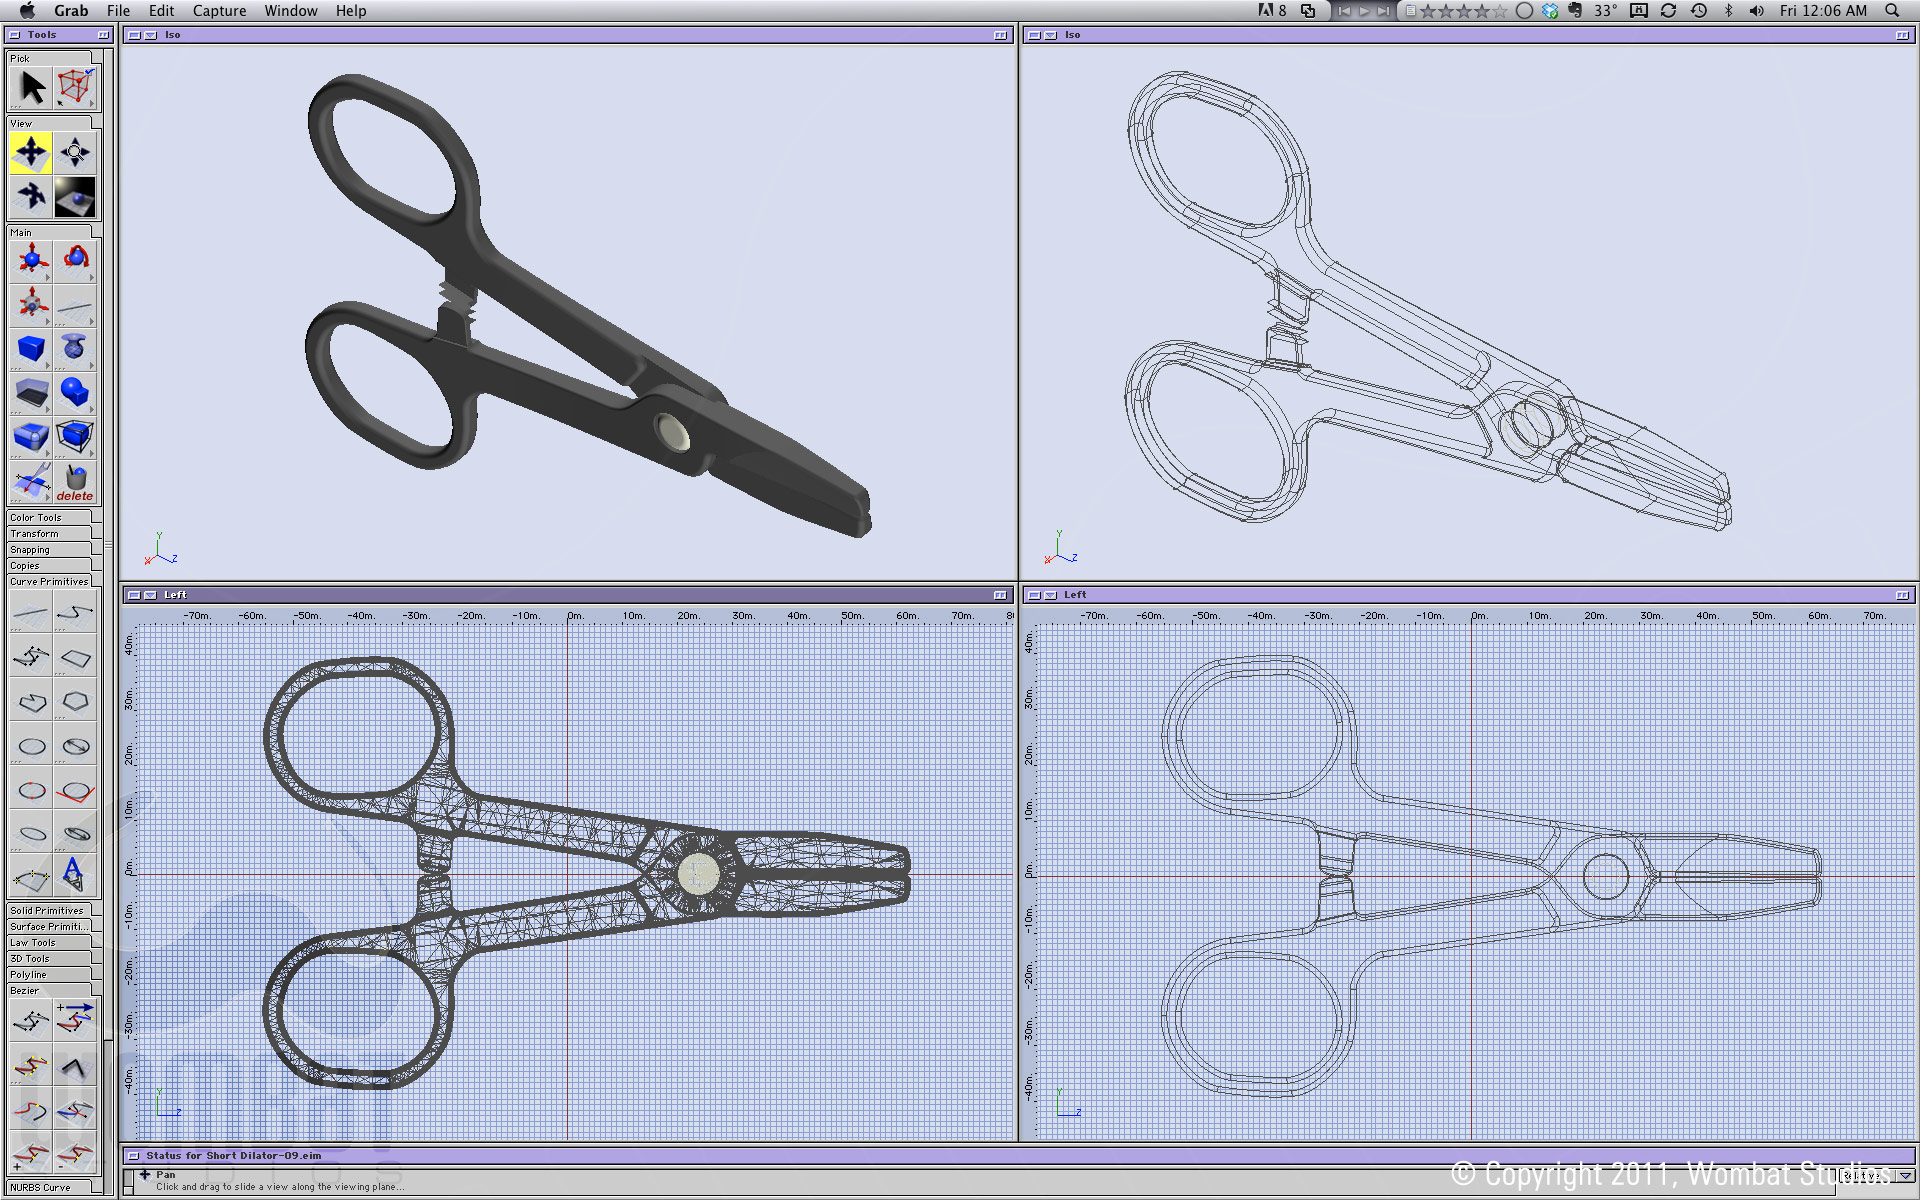
This might look like scissors for kids but it’s actually a clamp. There’s a few tricky elements here for modeling, mostly related to the amount of rounding.
Hub
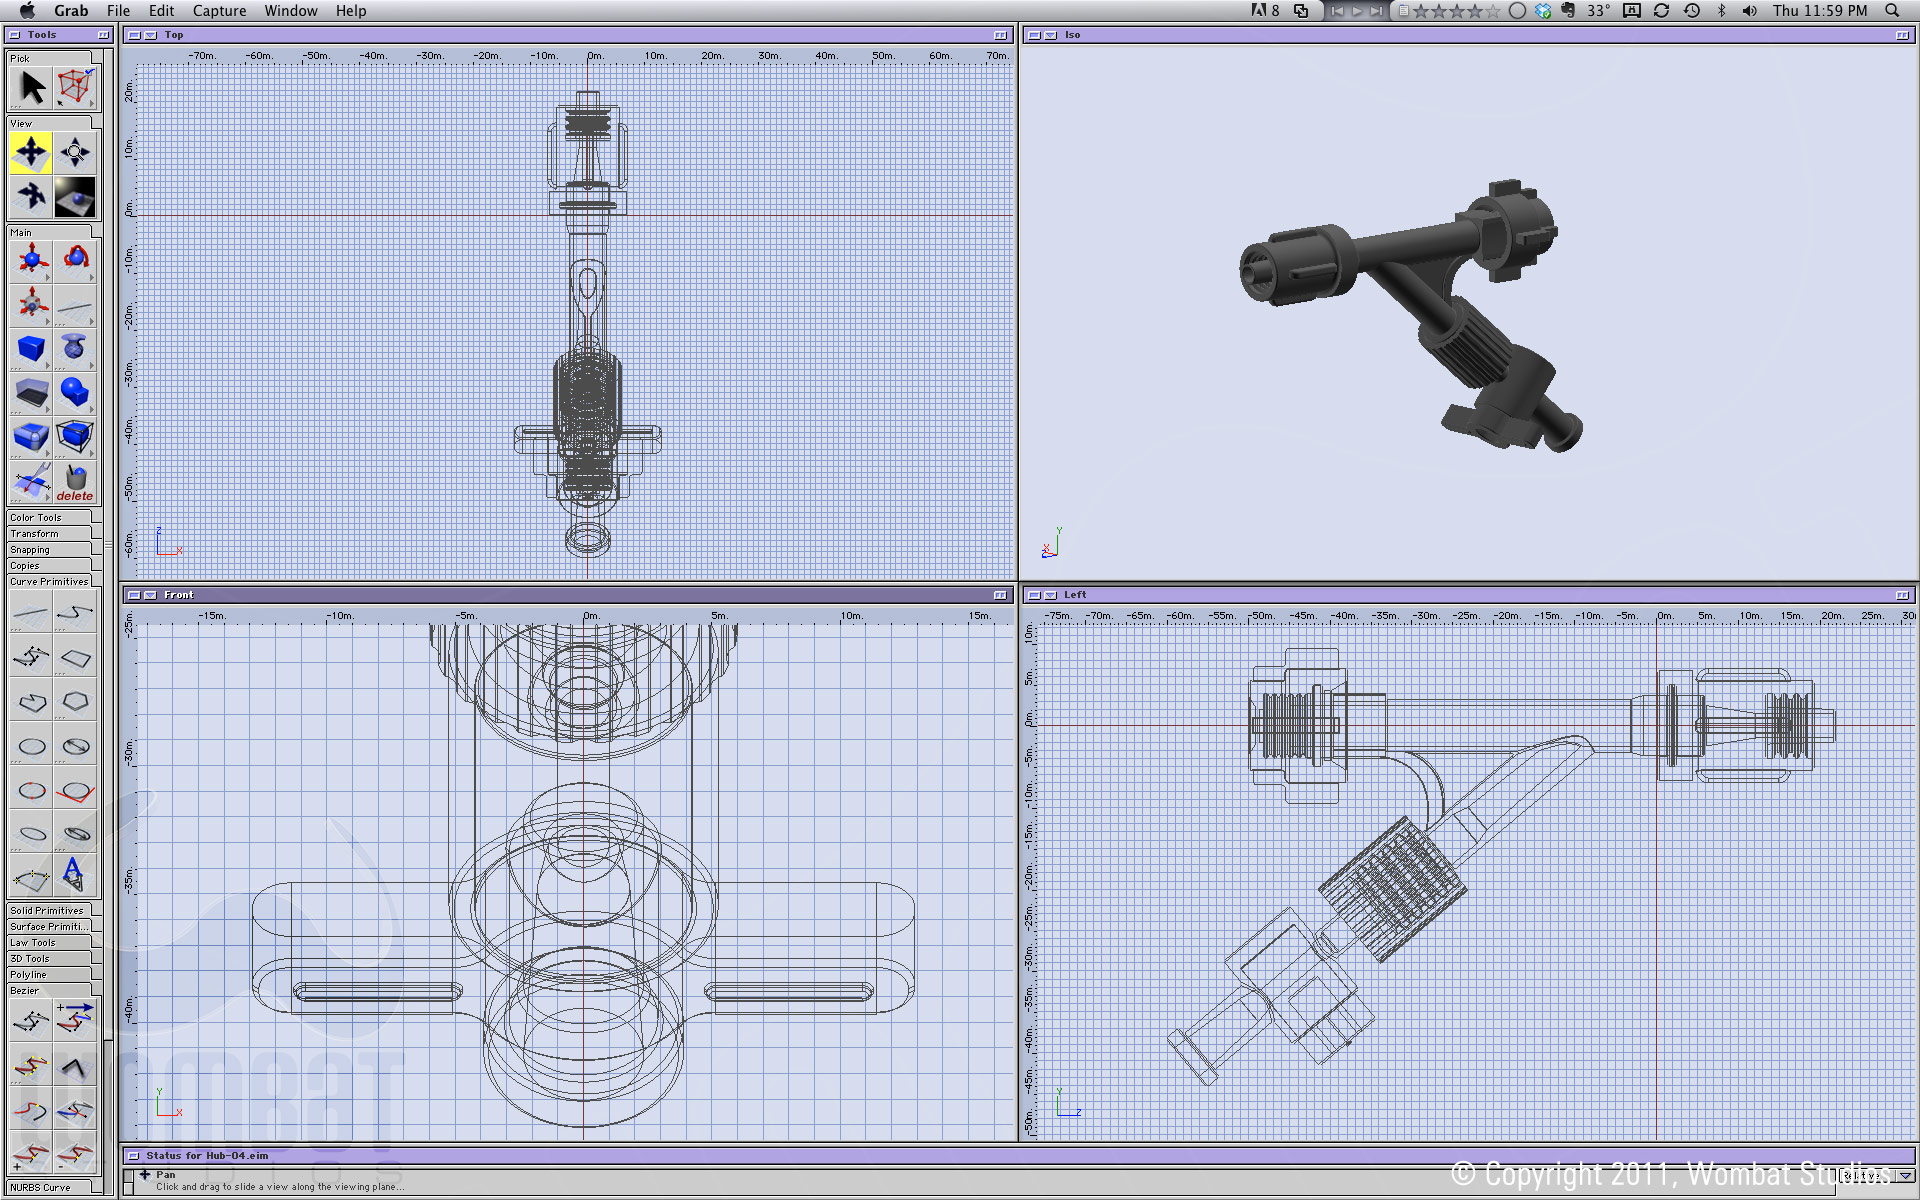
This hub/stopcock is used to give access to either the product or vessel lumens during implantation while controlling fluids. It’s a rather complex piece to model due to the amount of inner details, angles and interior pathways.
All Products Laid Out-View 1
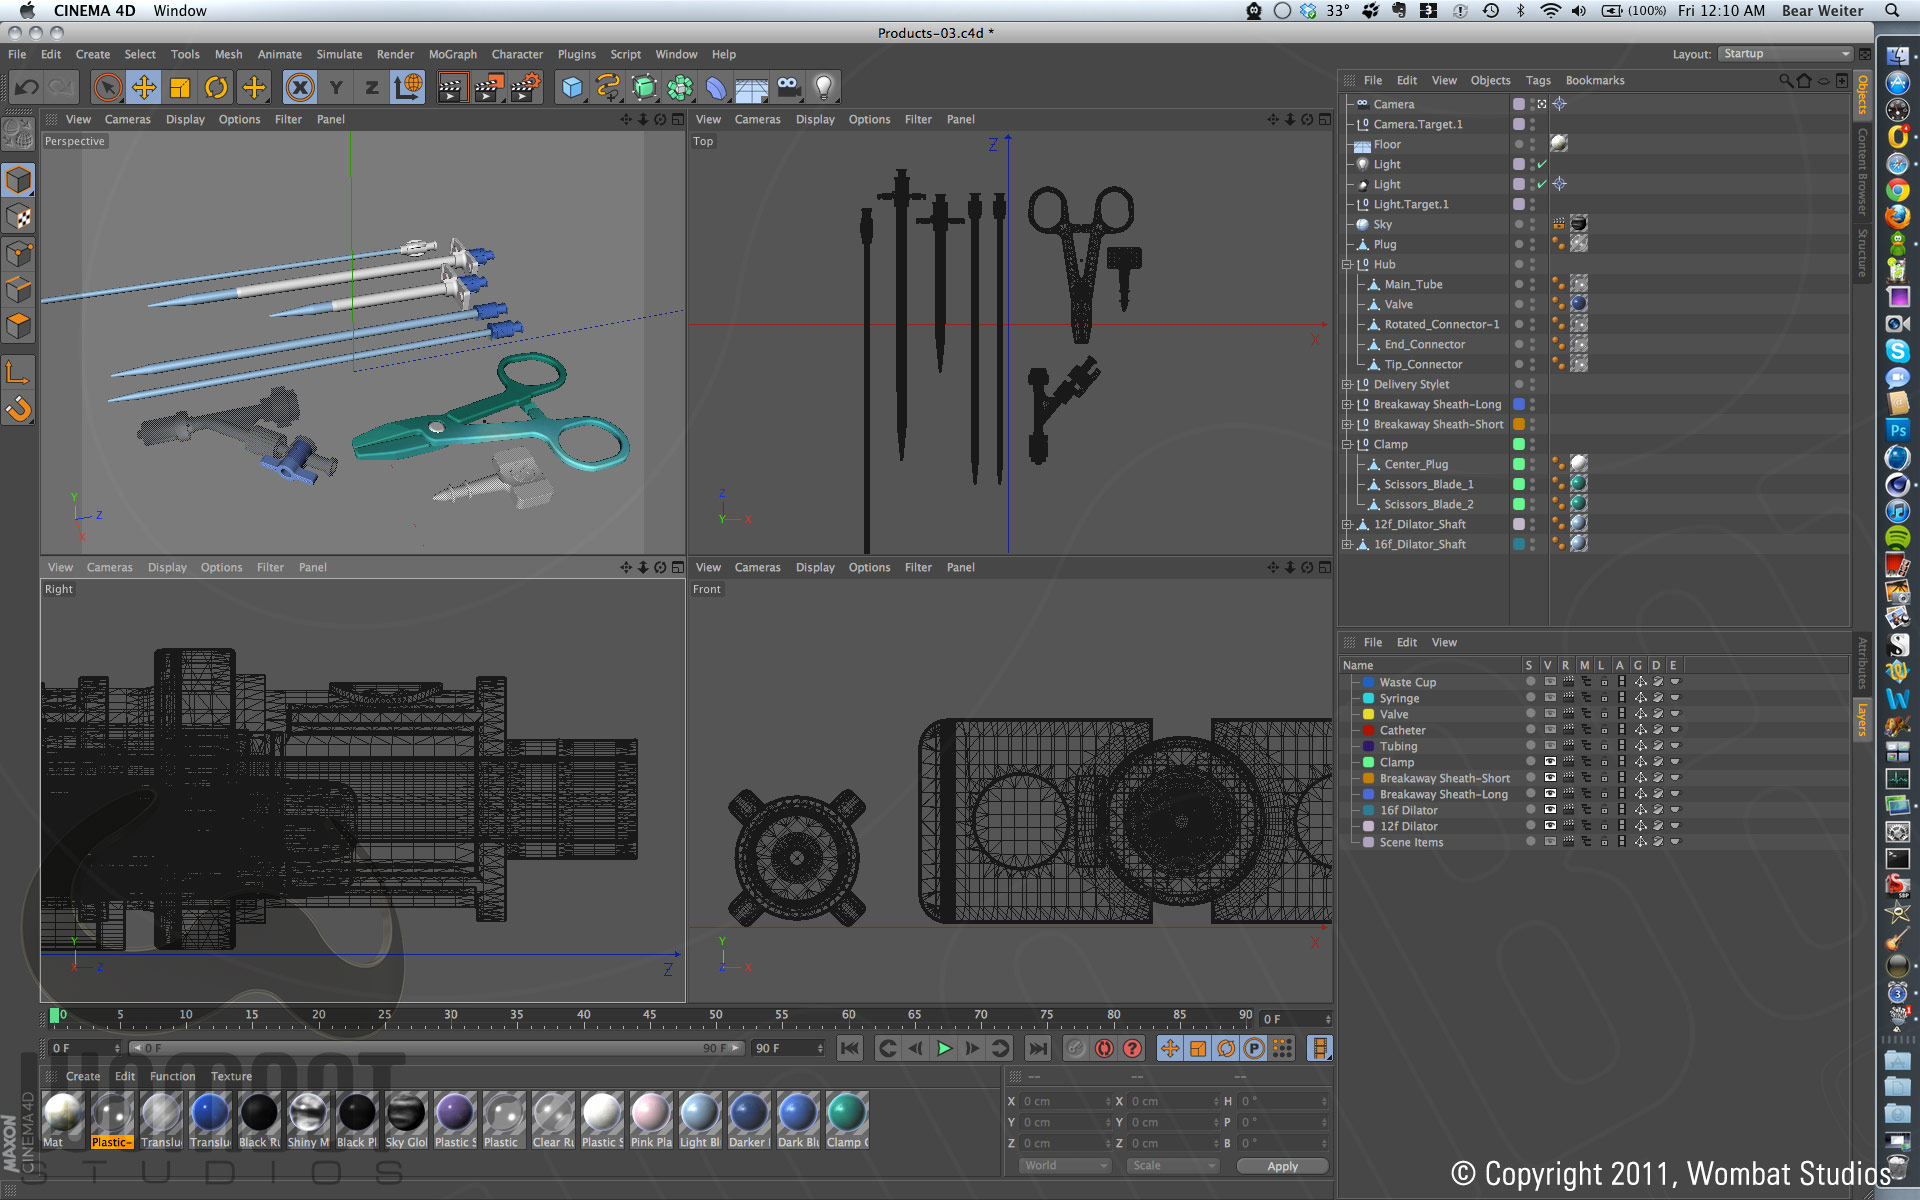
After modeling all of the objects we export them out into a commonly-used file format and import them into our main 3D application: Cinema4D. Here we can easily position, light, assign materials and textures and ultimately animate everything we need. For this purpose – showing the results of the modeling efforts – we simply arrange the objects to show them off.
All Products Laid Out-View 2
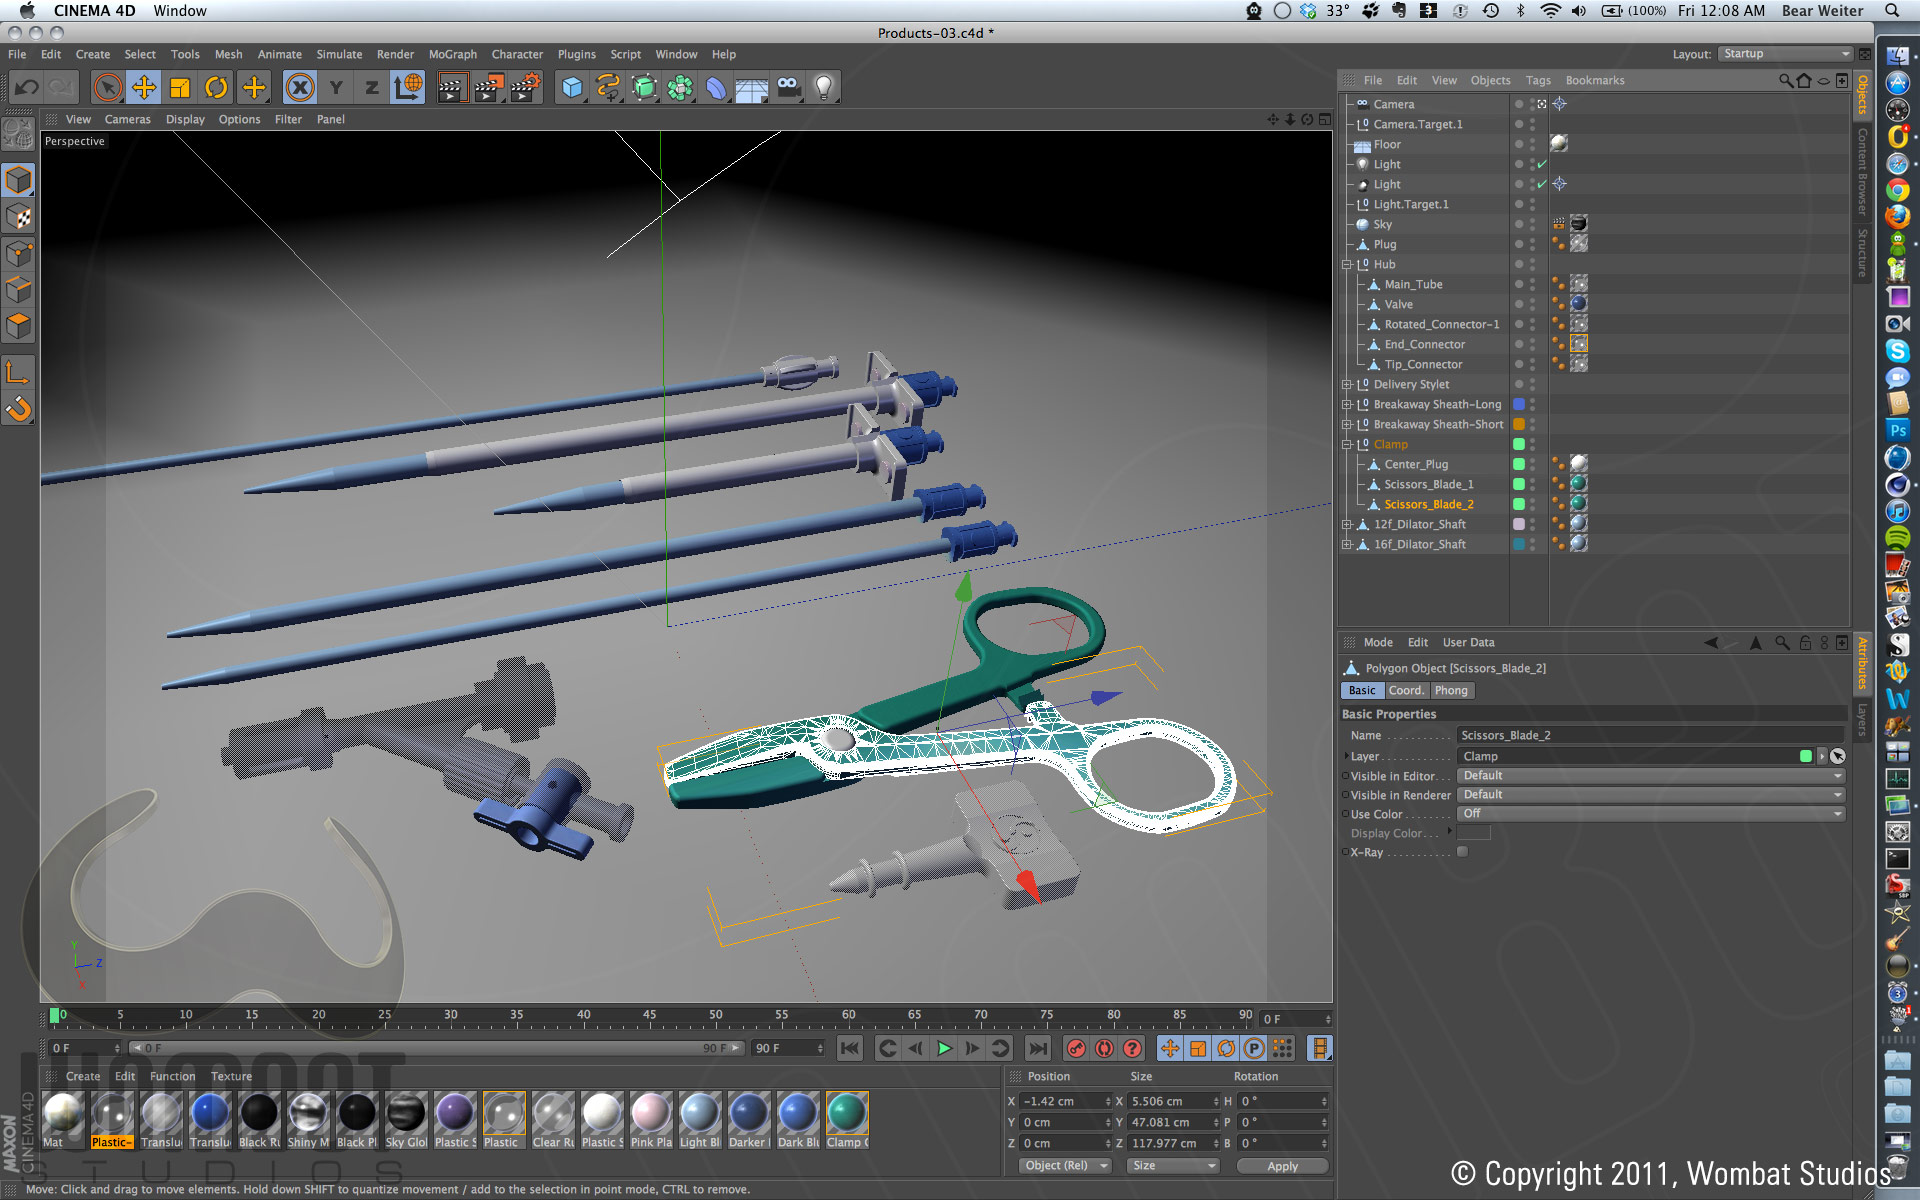
Another view of the objects. This and the previous 3D images are non-rendered images, essentially showing you how we see things as we work on them.
All Products Laid Out-Rendered
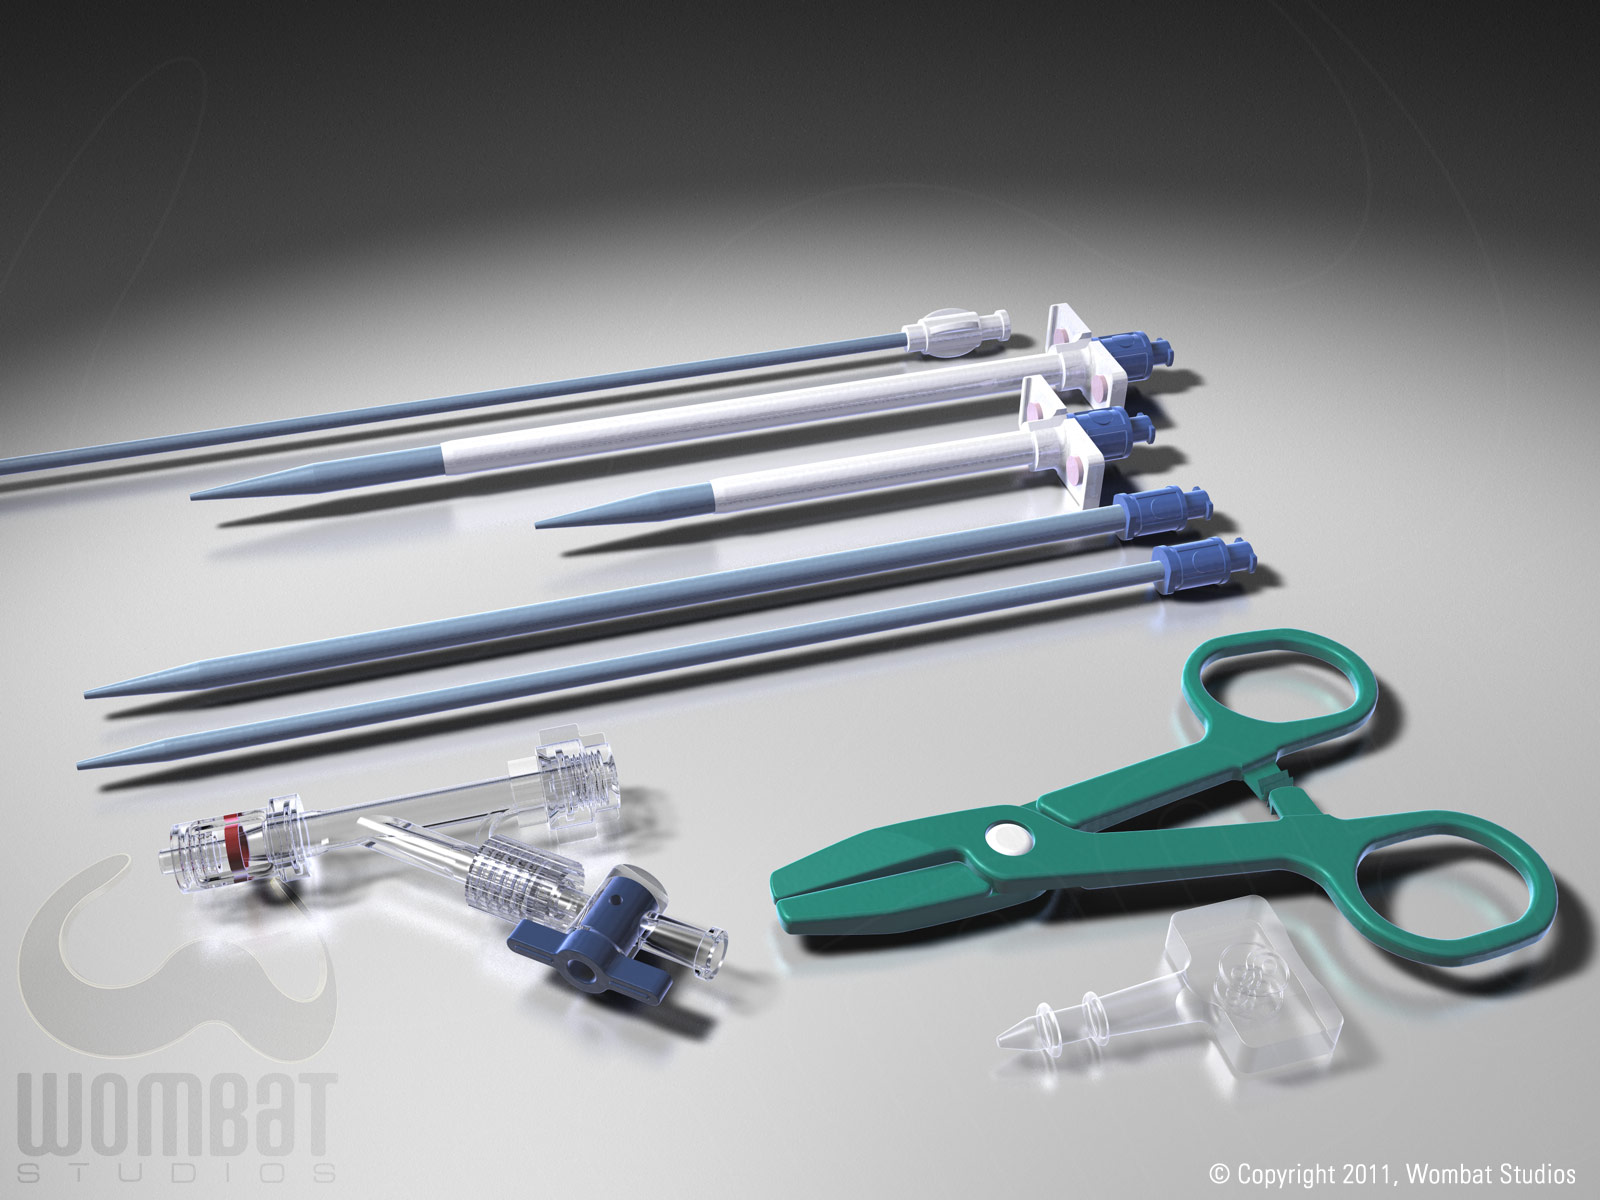
And this is the rendered view. During the rendering process we can enable a number of options to help increase the sense of reality – rarely is our goal “realistic rendering” but it is nice to have the work look somewhat realistic even in a stylized illustration or animation. For this purpose many of the additional rendering features (depth of field, ambient occlusion, global illumination, etc.) have been disabled, but they’re not needed here – this is enough to show the client what has been built, how the pieces compare to the real-world objects, and that we are ready for the next steps.